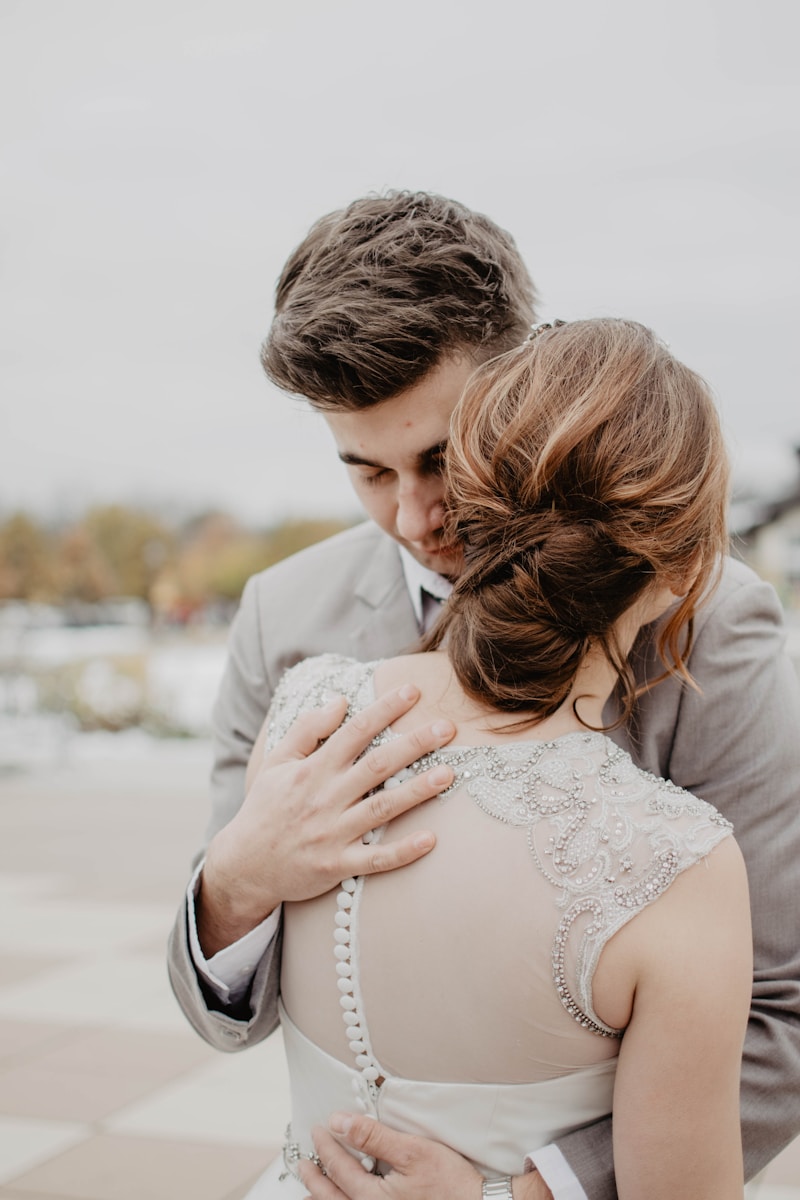
Creating DIY Wedding Bouquets: A Complete Guide for Your Special Day
Introduction to DIY Wedding Bouquets
Weddings are extraordinary occasions filled with love, joy, and personal touches. One significant way to personalize your big day is through creating your own wedding bouquets. Not only do DIY bouquets save money, but they also allow you to express your creativity and style. In this comprehensive guide, we will explore various aspects of creating DIY wedding bouquets, including tips, techniques, and a step-by-step process to ensure your bouquets turn out beautifully.
Why Choose DIY Wedding Bouquets?
Many couples opt for DIY wedding bouquets for several reasons. Here are some compelling benefits:
- Cost-effective: Purchasing pre-made bouquets can be expensive. Creating your own can significantly reduce wedding costs.
- Personalization: DIY bouquets can be tailored to match your wedding theme, colors, or personal style.
- Creative expression: Making your own bouquets allows you to experiment with different flowers, styles, and arrangements.
- Family involvement: Engaging family and friends in the bouquet-making process can create lasting memories.
Choosing the Right Flowers
The first step in creating stunning DIY wedding bouquets is selecting the right flowers. Consider the following tips:
Seasonality
Choose flowers that are in season. Not only will they be more affordable, but they will also look fresher. Research flowers that bloom in your wedding month. For instance:
| Wedding Month | Recommended Flowers |
| January | Amaryllis, Roses |
| April | Tulips, Daffodils |
| August | Dahlias, Sunflowers |
| November | Chrysanthemums, Japonica |
Color Palette
Decide on a color palette that complements your wedding theme. Utilize a color wheel to help you select shades that harmonize beautifully. You can choose complementary, analogous, or triadic color schemes to create a stunning arrangement.
Consider the Meaning of Flowers
Incorporate flowers that carry personal significance or meaning. For example, the rose symbolizes love, while lilies represent purity. Research the symbolism behind various flowers to create a bouquet that tells your unique love story.
Tools and Supplies You'll Need
Before getting started, gather all the necessary tools and supplies:
- Fresh Flowers: Choose a mix of focal flowers, fillers, and greenery.
- Floral Tape: This will help secure the bouquet.
- Floral Wire: Use this for added support.
- Scissors or Floral Shears: Essential for cutting stems.
- Ribbon: For wrapping the bouquet handle.
- Water Source: Keep flowers hydrated until your ceremony.
Step-by-Step Guide to Creating DIY Wedding Bouquets
Now that you've chosen your flowers and gathered your supplies, it’s time to create your DIY bouquet. Follow these steps to ensure a beautiful result:
1. Prepare Your Flowers
Begin by trimming the stems of all your flowers at an angle. Remove any leaves that will fall below the water line in the bouquet holder. This helps keep the bouquet fresh longer.
2. Create the Base
Select your focal flowers and arrange them in a circular shape, with the blooms facing outward. Start with a small number of flowers and gradually add more, ensuring that they are evenly spaced.
3. Add Fillers and Greenery
Once you’re satisfied with the focal flowers, begin adding filler flowers and greenery to give your bouquet depth and texture. Incorporate smaller flowers and foliage to create a fuller appearance.
4. Secure the Bouquet
Once you achieve the desired look, use floral tape to bind the stems together securely. Make sure the bouquet is tightly held to ensure it retains its shape.
5. Trim the Stems
After securing the bouquet, trim the stems evenly to your desired length. Aim for the stems to be about the same length for a clean finish.
6. Add the Finishing Touches
Wrap the bouquet handle with your chosen ribbon. To secure it, you can use floral wire or glue. Make sure to leave enough ribbon at the top to create a beautiful bow.
7. Hydrate Before the Ceremony
Keep your bouquet in fresh water until the moment of your ceremony to ensure that all flowers are hydrated and look their best.

Tips for Success
Here are some additional tips to ensure your DIY bouquet creation is a success:
- Practice: Don’t hesitate to practice your arrangement a few times before the big day.
- Work with a friend: Collaborate with someone who has experience in floral design or simply someone who can lend a helping hand.
- Test the flowers: Some flowers have different lifespans; consider doing a test run a few weeks before your wedding to see how long your chosen flowers last.
- Store flowers properly: Keep flowers in a cool place to prolong their lifespan before the wedding.
Common Questions About DIY Wedding Bouquets
How far in advance can I create my DIY wedding bouquet?
It’s best to create your bouquet no more than one to two days before the wedding to ensure freshness. You can, however, prepare certain elements like the ribbon or the arrangement outline ahead of time.
What should I do if my DIY bouquet wilts before the ceremony?
If your bouquet starts to wilt, recut the stems and place them in water for a few hours. If necessary, you may need to purchase fresh replacements.
Conclusion
Creating DIY wedding bouquets is a fulfilling and cost-effective way to personalize your wedding day. By choosing the right flowers, gathering the necessary tools, and following a structured process, you can create stunning bouquets that reflect your style and sentiments. Remember to practice, involve loved ones, and have fun throughout the creative process. With these tips, you will be well on your way to crafting unforgettable DIY wedding bouquets that will be cherished for years to come. Best of luck with your wedding preparations!