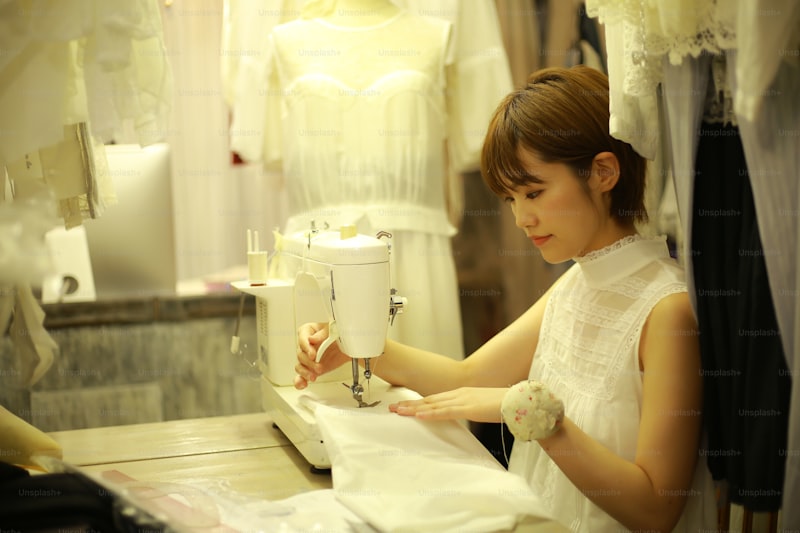
How to Make Your Own Wedding Dress: A Step-by-Step Guide
Your Dream Wedding Dress Awaits
Planning a wedding is a beautiful journey filled with love, excitement, and stress. One of the most personal and memorable aspects of a wedding is the dress. If you are looking to make your wedding dress a unique representation of your style and personality, you may be wondering how to make your own wedding dress. In this comprehensive guide, we will explore everything you need to know to create your dream wedding dress, from choosing the right materials to sewing techniques.
Why Make Your Own Wedding Dress?
Making your own wedding dress allows for complete customization. Here are some reasons why couples choose to tackle this project:
- Personalization: You can design a dress that reflects your personal style and fits your body perfectly.
- Cost-Efficiency: Depending on the materials you choose, making your own dress can be more budget-friendly than purchasing a designer gown.
- Sentimental Value: A handmade dress carries personal significance and becomes a treasured memory.
Materials You Will Need
Before diving into the process, it’s essential to gather the right materials. Here’s a list of what you will need:
| Material | Usage |
| Fabric | Main material for the dress (silk, satin, lace, etc.) |
| Threads | For stitching fabric together, matching fabric color |
| Sewing machine | For efficient and precise sewing |
| Scissors | For cutting fabric |
| Measuring tape | For accurate measurements |
| Pins | For securing fabric before sewing |
| Pattern paper | To draft your dress design |
| Embellishments | For additional decorative elements (beading, embroidery, etc.) |
Step-by-Step Guide to Making Your Wedding Dress
Step 1: Designing Your Dress
Begin by visualizing the style you want. Browse through bridal magazines, Pinterest, and wedding websites for inspiration. Sketch your design or use a software tool to create a digital version. Consider factors like sleeve type, train length, and neckline.
Step 2: Taking Your Measurements
Accurate measurements are crucial. Measure your bust, waist, hips, and the length from your shoulder to the hem. Don’t hesitate to get help from a friend or a professional seamstress. Record your measurements for reference.
Step 3: Choosing the Right Fabric
The fabric you select can greatly affect the overall look and feel of your dress. Here are some options:
- Satin: Luxurious and smooth, perfect for elegant gowns.
- Lace: Ideal for vintage or bohemian styles.
- Tulle: Great for creating volume in skirts.
Purchase a little extra fabric to account for mistakes or adjustments.
Step 4: Creating a Pattern
You can either buy pre-made patterns or create your own using pattern paper. If creating your own pattern, lay out your design on the paper and carefully mark the measurements. Remember to include seam allowances.
Step 5: Cutting the Fabric
Using sharp scissors, cut the fabric according to your pattern. Lay the fabric on a flat surface and secure the pattern with pins. Be precise and go slow – this step is crucial for the final fit of your dress.
Step 6: Sewing the Dress
Start sewing your pieces together. For beginners, practice basic stitches on scrap fabric. Here are some essential sewing techniques to know:
- Straight Stitch: For basic seams.
- Zigzag Stitch: To finish edges and prevent fraying.
- Basting: For temporarily holding fabric together before the final sewing.
Take your time and ensure each seam is well finished.
Step 7: Fitting and Adjustments
Once the main structure is complete, try on the dress and look for any fitting issues. It might be necessary to make adjustments to the sides, length, or even the neckline. Don’t rush this step; a perfect fit is vital for comfort and style on your special day.
Step 8: Adding Embellishments
Add personal touches with embellishments like beading, lace overlays, or embroidery. This is your chance to be creative and make your dress truly one-of-a-kind.
Step 9: Final Touches
Once satisfied with your dress, make the final hem and any last-minute adjustments. Ensure all loose threads are trimmed, and the dress is spotless before your big day.
Tips for Making Your Own Wedding Dress
To ensure a smooth experience, consider these additional tips:
- Practice: If you’re new to sewing, practice on inexpensive fabric before working with your wedding fabric.
- Seek Help: Don’t hesitate to ask for assistance from experienced sewers or take a sewing class.
- Stay Organized: Keep your workspace tidy and all materials in one place to avoid confusion.

Frequently Asked Questions
How long does it take to make a wedding dress?
The timeframe can vary depending on your skill level and the complexity of the design. On average, it may take anywhere from 20 to 80 hours over several weeks.
What is the average cost of making a wedding dress?
The total cost can vary widely based on fabric choice and embellishments, but making your own dress can range from $200 to $1,000 or more.
Do I need special skills to make a wedding dress?
Basic sewing skills are essential, but many resources, tutorials, and classes are available to help you learn the necessary techniques.
Conclusion
Creating your own wedding dress can be a rewarding endeavor that results in a stunning, personalized gown for your special day. This guide has outlined the essential steps and tips to help you on your journey. Remember to enjoy the process and take it one step at a time. Your dream wedding dress is within reach!